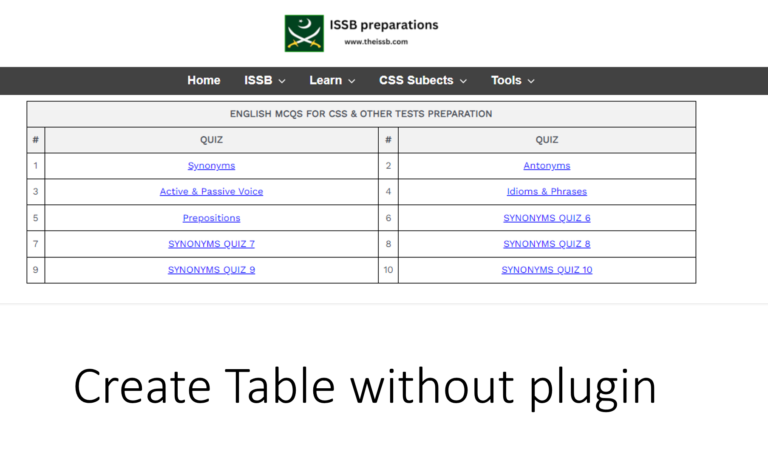
How to create a TABLE in wordpress without any Plugin
In this tutorial, you will be able to learn how to create a table in your WordPress website without using any plugins. It’s simpler than you might think. Just follow these easy steps.
Step 1: Login WP site
- Log in to your WordPress website dashboard.
- Go to the Add new page or Add new post where you want to add the table.
- Add the HTML widget or change the editor mode to HTML.
Step 2: Copy and Paste TABLE Code
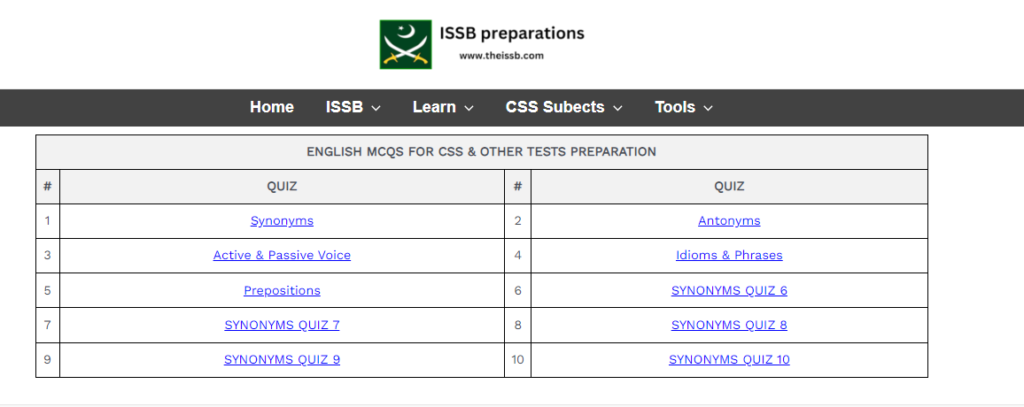
Now, you’ll need to copy and paste the following HTML code for adding the table.
					<!DOCTYPE html>
<html>
<head>
    <style>
        table {
            border-collapse: collapse;
            width: 100%;
            border: 1px solid black;
        }

        th, td {
            border: 1px solid black;
            padding: 8px;
            text-align: left;
        }

        th {
            background-color: #f2f2f2;
            text-align: center; /* Center the heading in the first column */
        }

        th:nth-child(2),
        th:nth-child(4) {
            text-align: center; /* Center the headings in the second and fourth columns */
        }

        td:first-child,
        th:first-child,
        td:nth-child(3),
        th:nth-child(3) {
            width: 30px; /* You can adjust the width as needed for the first and third columns */
             text-align: center
        }

        td:nth-child(2),
        td:nth-child(4) {
            text-align: center; /* Center the data in the second and fourth columns */
        }

        /* Add clickable URL links to each data cell */
        td a {
            display: block;
            text-decoration: underline;
            color: blue;
            cursor: pointer;
        }
         td a:hover {
            color: red;
        }
    </style>
</head>
<body>

    <table>
        <tr>
            <th colspan="4">SYNONYMS MCQS</th>
        </tr>
        <tr>
            <th>#</th>
            <th>QUIZ </th>
            <th>#</th>
            <th>QUIZ</th>
        </tr>
        <tr>
            <td>1</td>
            <td><a href="https://theissb.com">SYNONYMS QUIZ 1</a></td>
            <td>2</td>
            <td><a href="https://theissb.com">SYNONYMS QUIZ 2</a></td>
        </tr>
        <tr>
            <td>3</td>
            <td><a href="https://theissb.com/practice-2-general-knowledge/">SYNONYMS QUIZ 3</a></td>
            <td>4</td>
            <td><a href="https://theissb.com/practice-1-general-knowledge/">SYNONYMS QUIZ 4</a></td>
        </tr>
        <tr>
            <td>5</td>
            <td><a href="https://theissb.com/practice-3-general-knowledge/">SYNONYMS QUIZ 5</a></td>
            <td>6</td>
            <td><a href="https://theissb.com/practice-1-general-knowledge/">SYNONYMS QUIZ 6</a></td>
        </tr>
        <tr>
            <td>7</td>
            <td><a href="https://theissb.com/practice-4-general-knowledge/">SYNONYMS QUIZ 7</a></td>
            <td>8</td>
            <td><a href="https://theissb.com/practice-1-general-knowledge/">SYNONYMS QUIZ 8</a></td>
        </tr>
        <tr>
            <td>9</td>
            <td><a href="https://theissb.com/practice-5-general-knowledge/">SYNONYMS QUIZ 9</a></td>
            <td>10</td>
            <td><a href="https://theissb.com/practice-1-general-knowledge/">SYNONYMS QUIZ 10</a></td>
        </tr>
    </table>

</body>
</html>
Step 3: Customize the CODE
Customize the code according to your need within the <body> tag section. You can change Headings, Table data, and other values also add or remove rows as per your requirements.
Step 4: Save and Publish